
In order to 3D print, We offer various amazing styles in several distinctive categories for you to quickly print!
Did you know you can also download just one of these information from our design library and incorporate your personal added touches? In this site we will display you a move by move illustration of accurately how you can attain this!
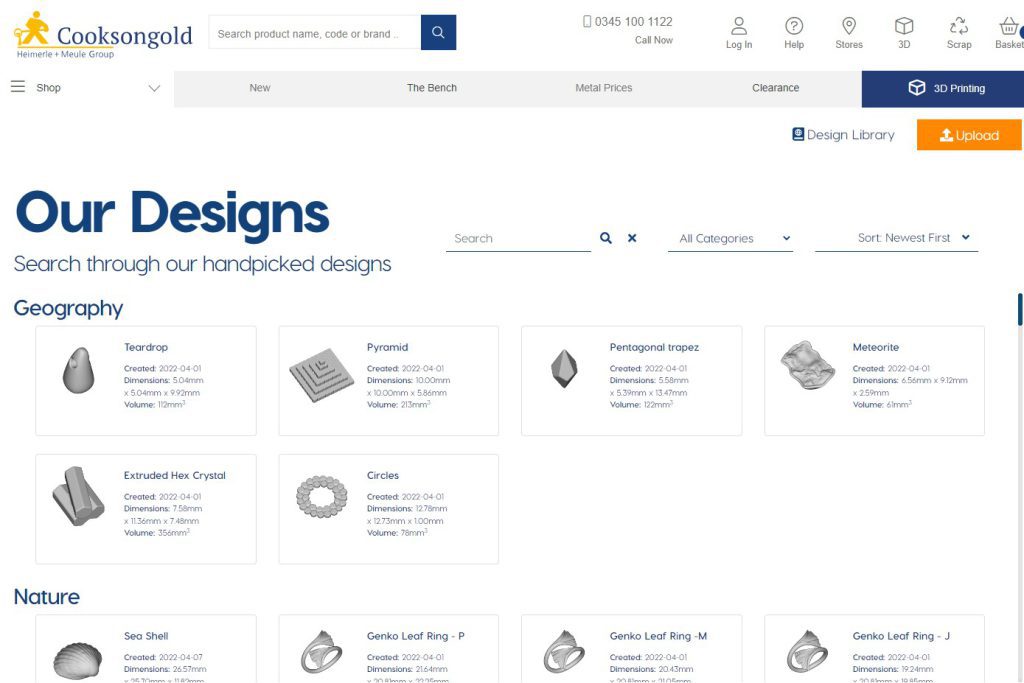
Get started by heading to the Cooksongold site of system and select the ‘3D Printing’ tab or simply click on here. This will just take you to our 3D printing homepage, and then find the structure library.
To start with stage: Browsing the patterns we provide in our structure library:
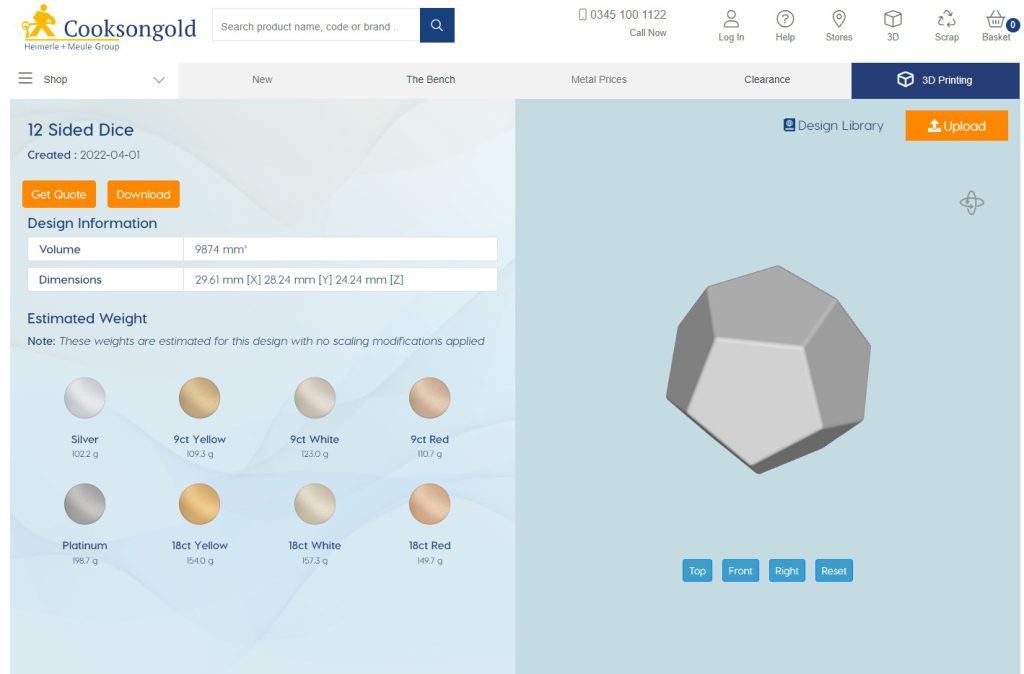
We selected the 12 Sided Dice and then clicked ‘Download’ on the remaining side. This will obtain the design and style as an STL file.
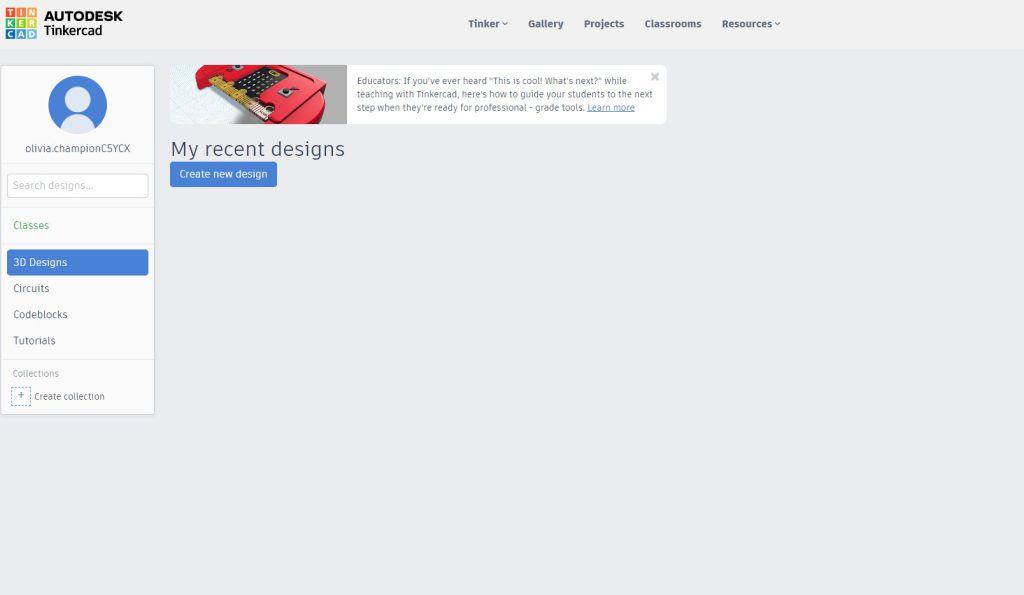
Create an account with TinkerCAD which is run by AUTODESK. This software package is absolutely free and available from your browser. TinkerCAD has a fantastic tutorial technique for new users to the software.
Below find ‘Create new design’:
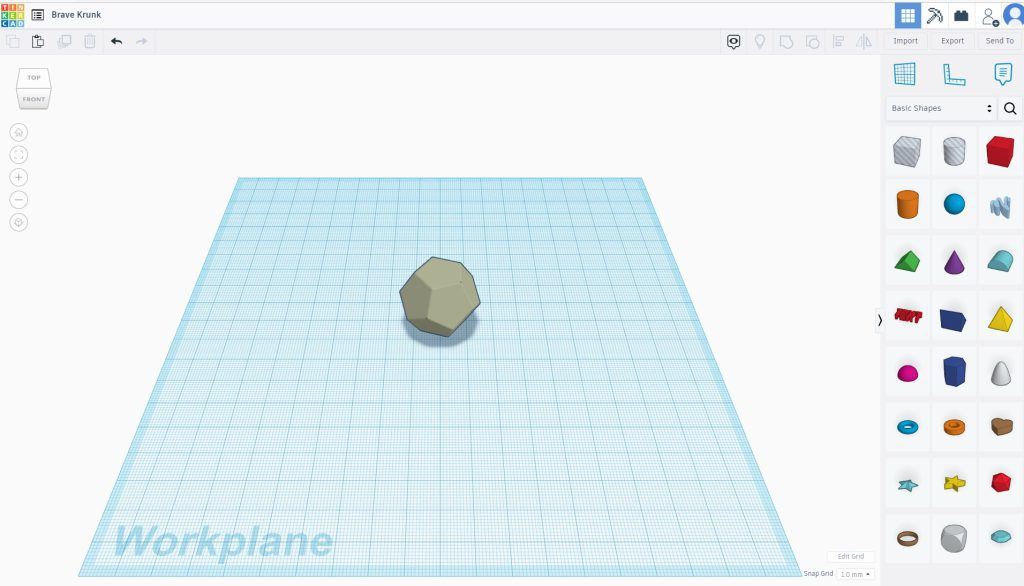
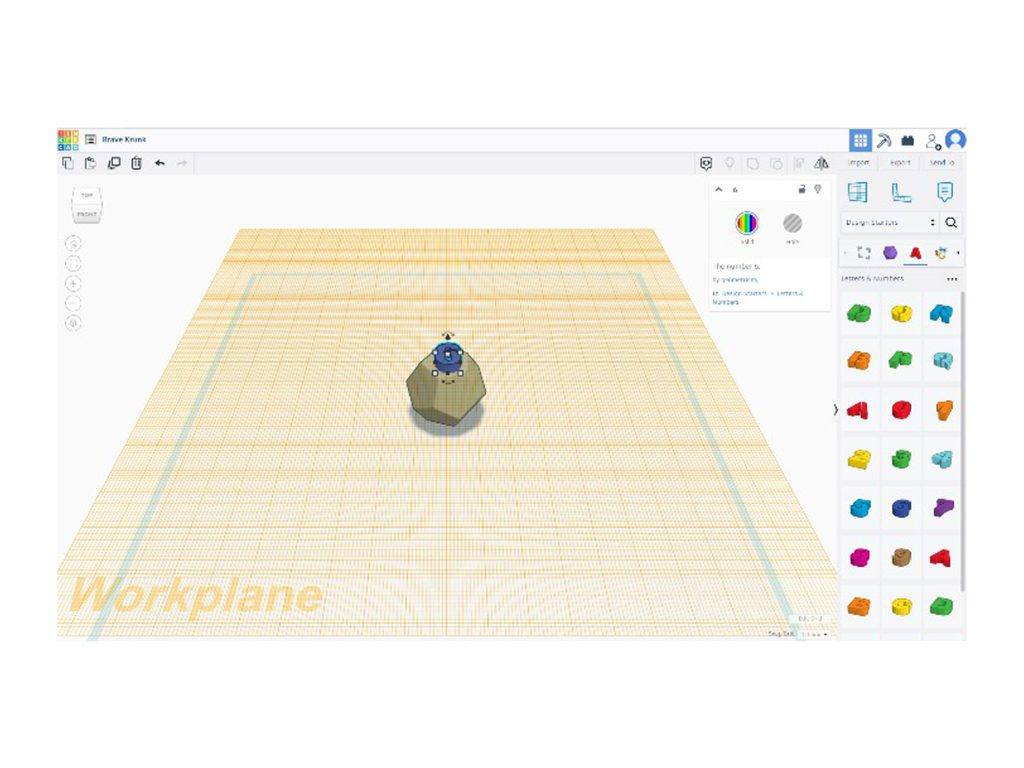
This will carry up the workspace for you to edit your file in. In the prime correct corner pick out Import:

Pick opt for file:
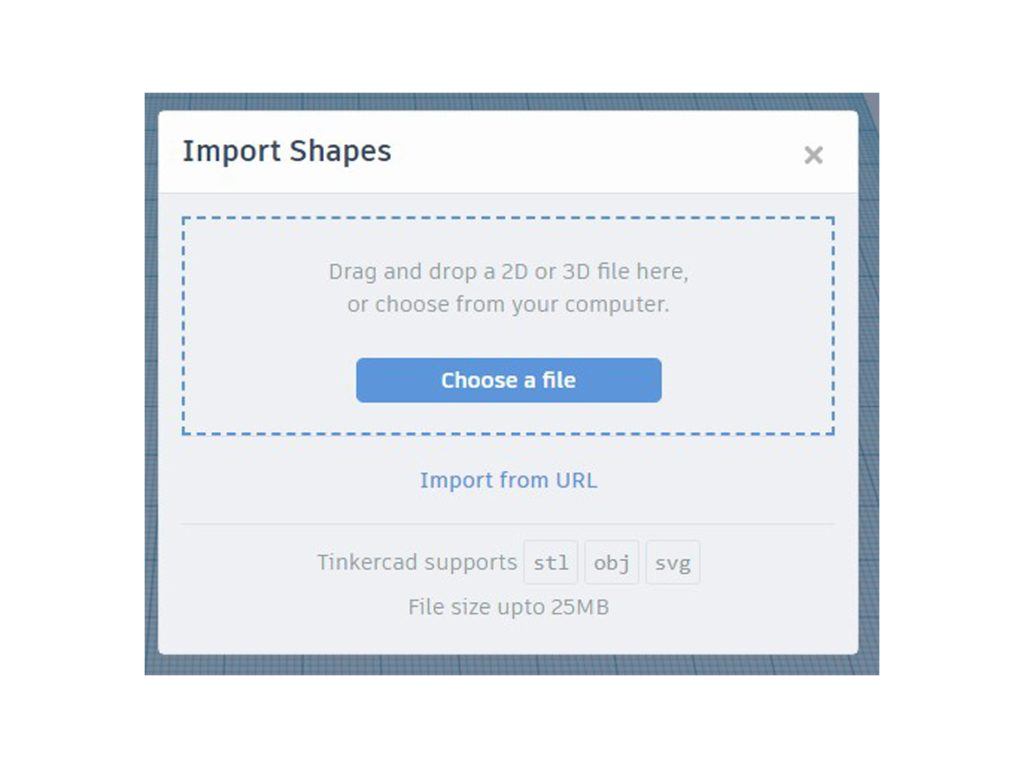
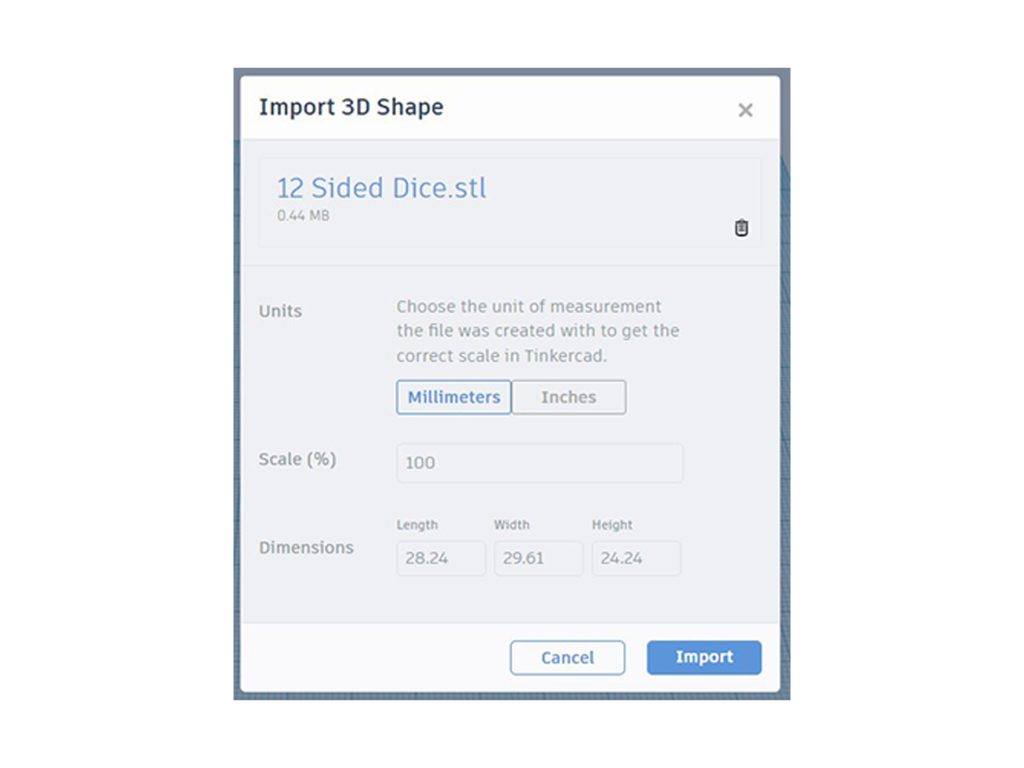
Pick out your file, and find millimeters and then Import:
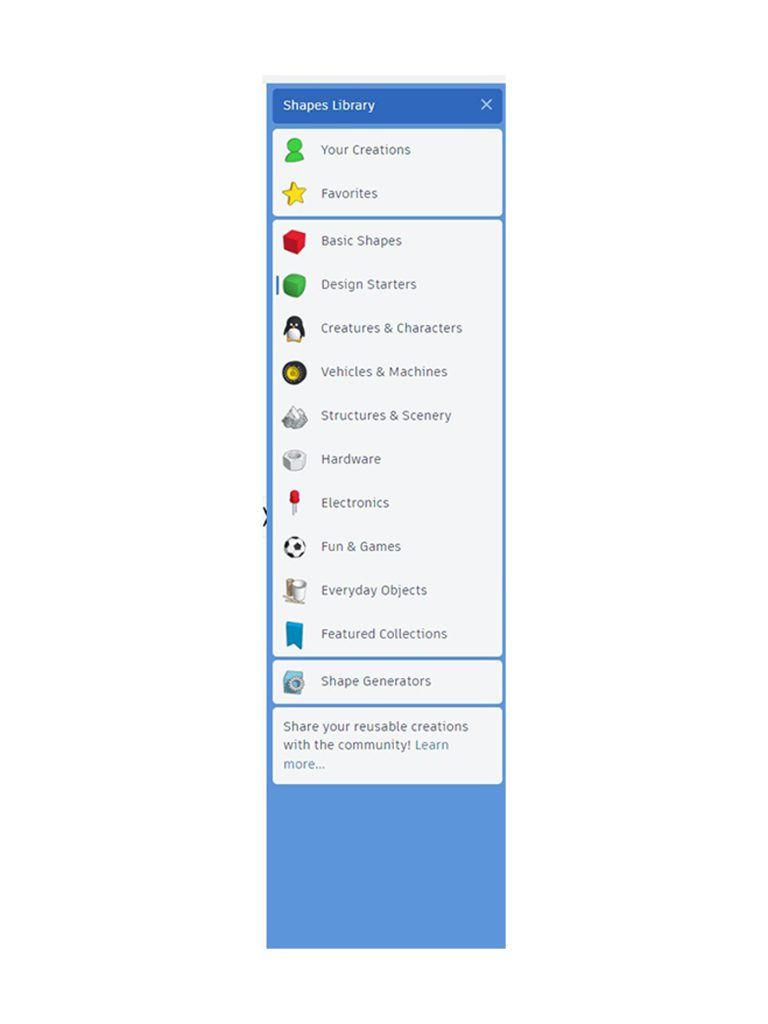
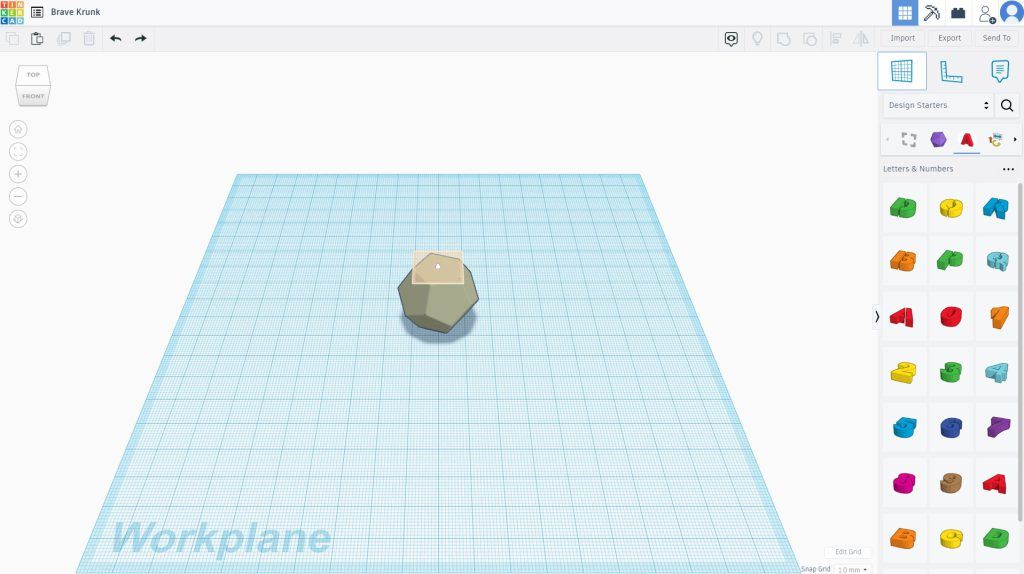
Then move forward to find fundamental shapes:
Pick design starters:
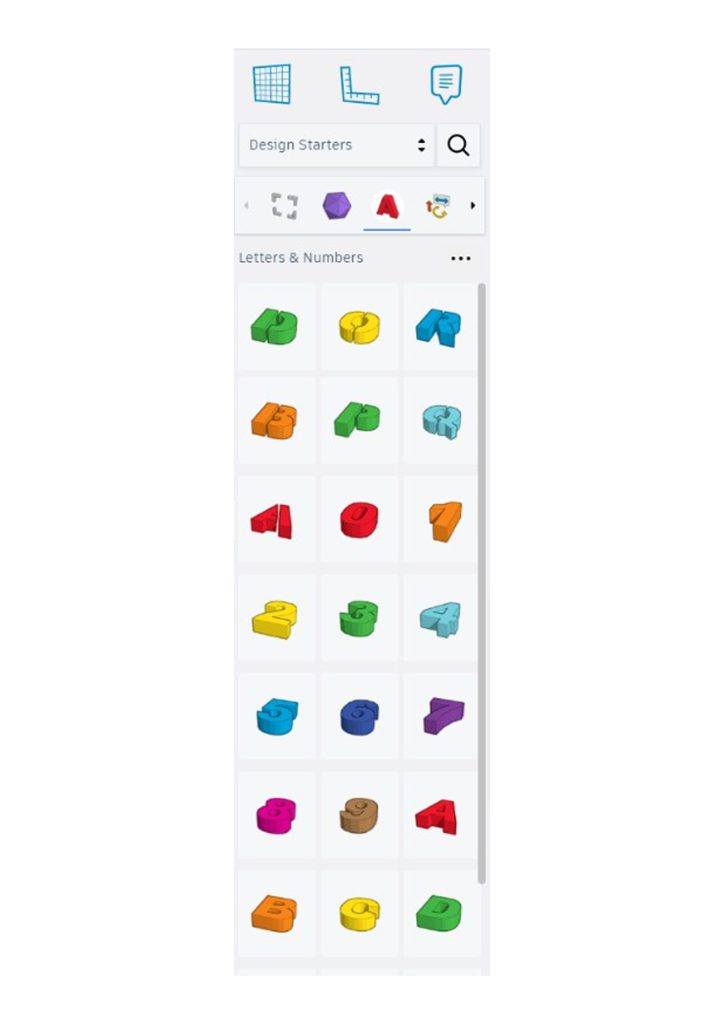
Then pick letters and figures:
Select Workplane instrument in the prime right and find the plane you would like to do the job on. We have picked the leading aspect of the dice.
This locations the workplane on to the face you would like to edit or include points as well. Then drag the form on to the piece from the side menu.
Use the rotation symbol to rotate the item to in which you would like the form.
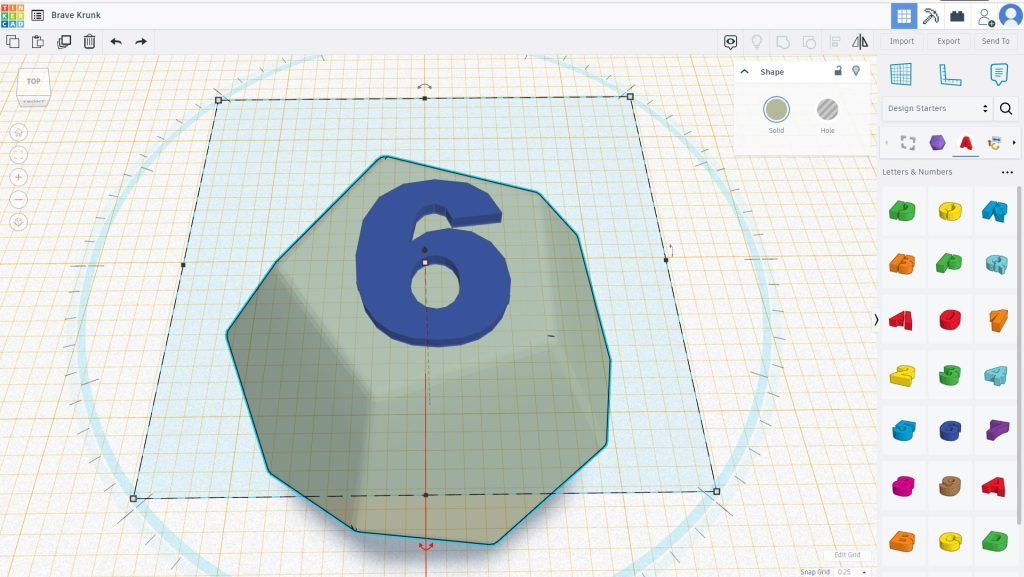
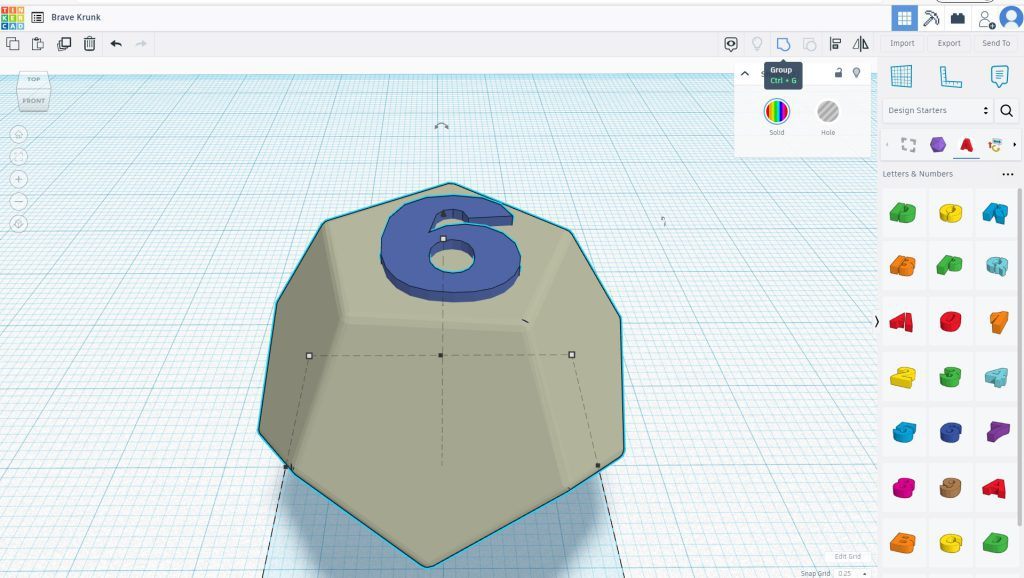
Change the snap grid to .25 to shift and edit the form in lesser increments. Use the black cone to go the condition up and down. Use the white sq. to alter the area in sizing.

Pick the Workplane resource again and pick the floor. This will go the airplane again to the primary location.
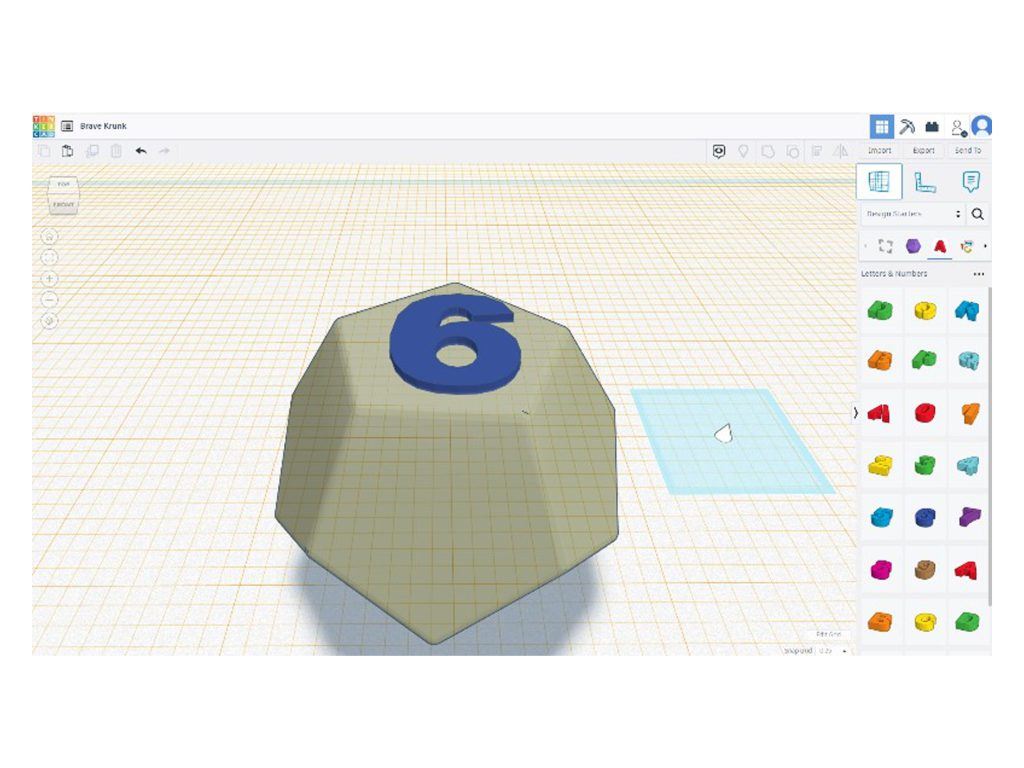
Find each products and choose group to merge them into one item.
If you want to cut a person of the designs out of the other, you will will need to choose the condition that you want to subtract from the other and alter this from Good to Gap. If you now group the two merchandise, this will choose the form out of the other:
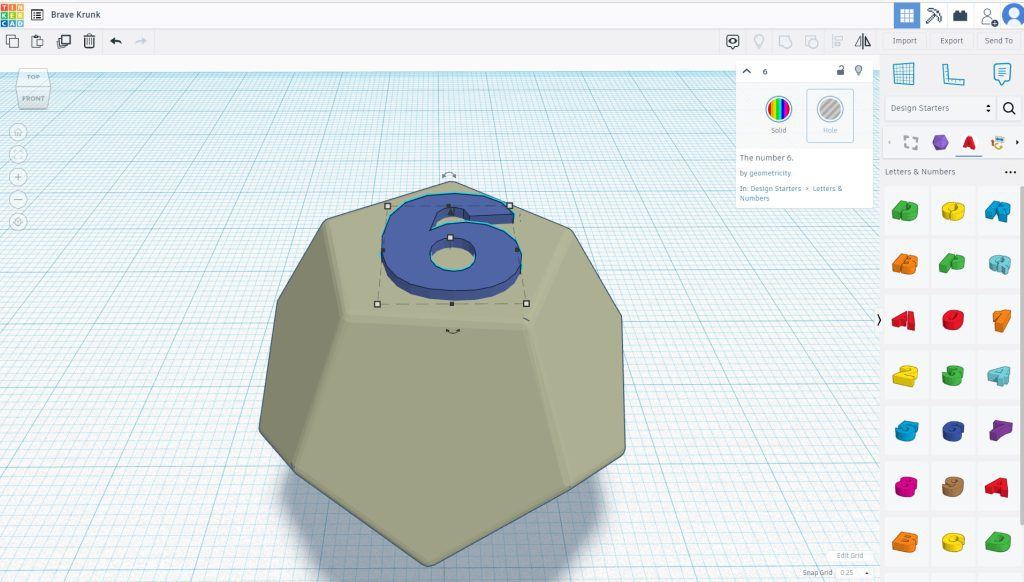
If you now group the two items, this will choose the shape out of the other:
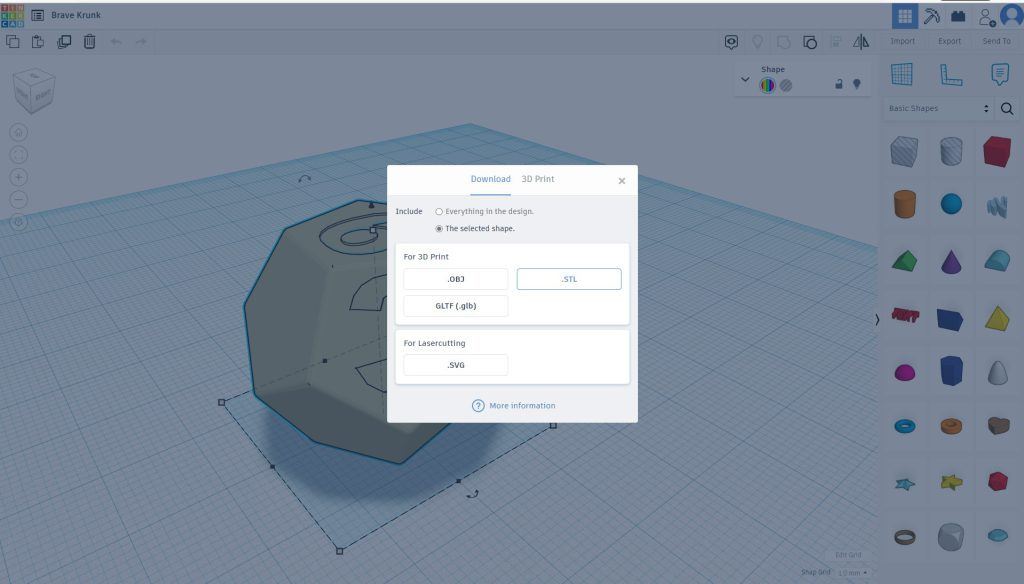
Decide on all the objects you are seeking to save. In get to help you save your file, simply click export. ‘the chosen shape’ and then pick STL:
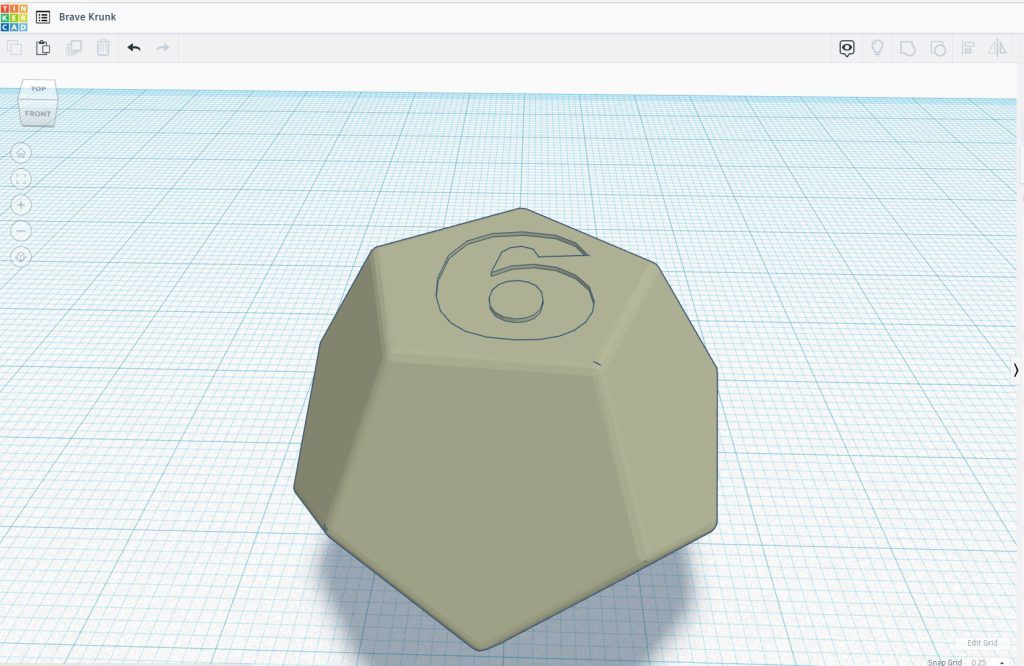
You now have your customized structure, made with your further contact.